Visual Studio 2022 GitHub Setup Made Simple – Complete Tutorial

Introduction:

This complete guide guides you through the process of configuring GitHub, installing Git, and configuring the installation in Visual Studio 2022

Then you will learn to run Git commands, commit, push, pull, and manage branches in Visual Studio.

GitHub and Git Installation

Follow these steps to get started with Git and GitHub:

1. Go to https://github.com and click on ‘Sign up’ to create a GitHub account.

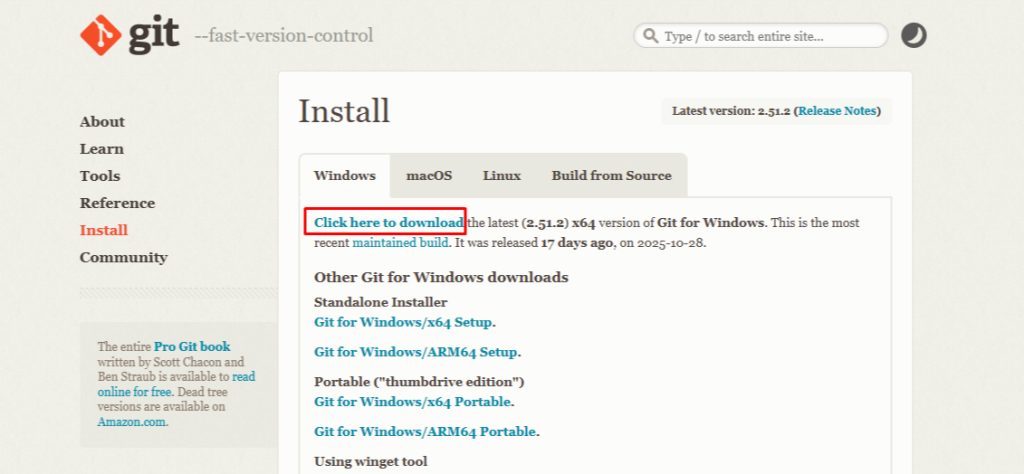
2. After account creation, download Git from https://git-scm.com/downloads and download git set up file.

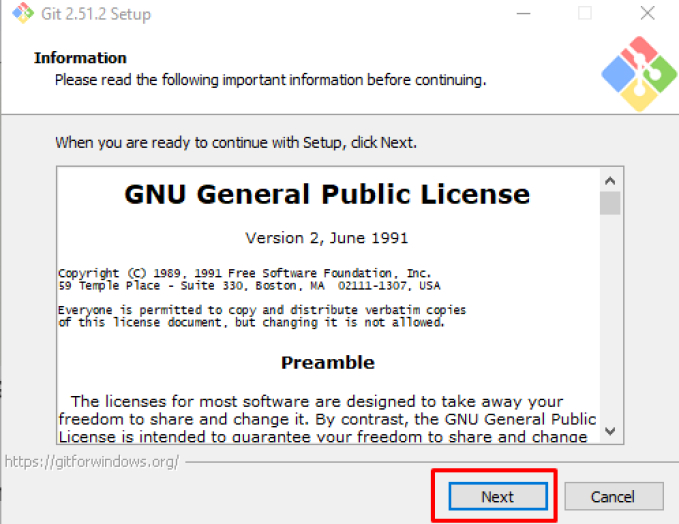
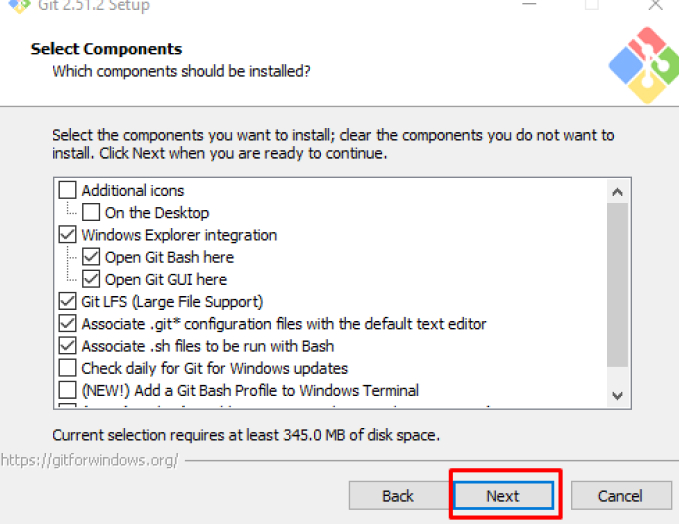
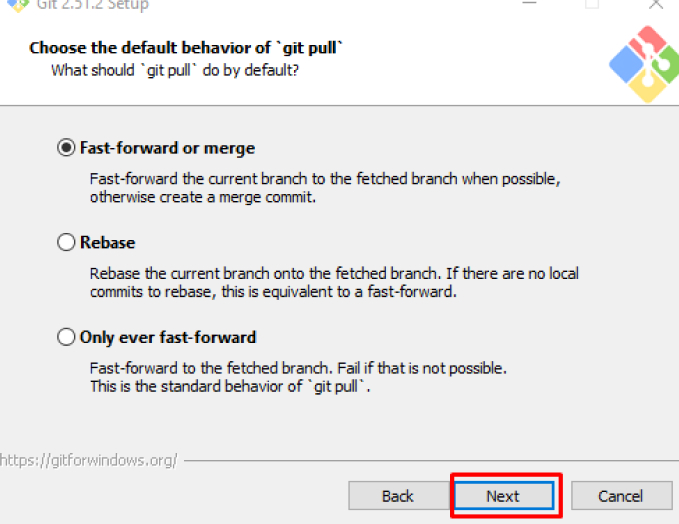
3. Run the Git setup file and click on Next Button

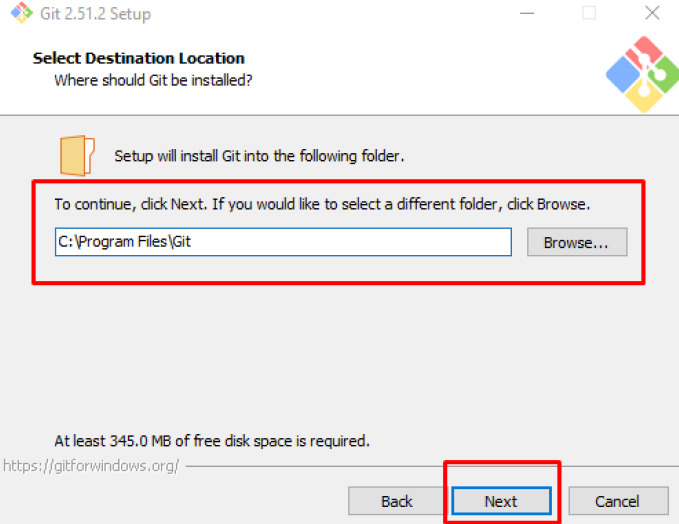
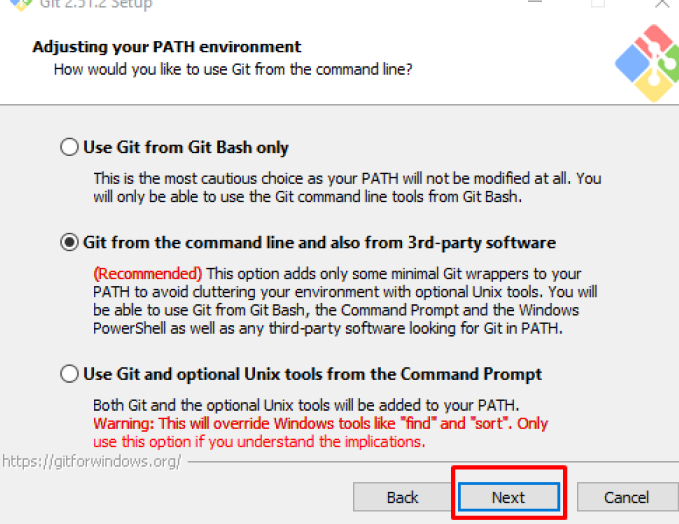
4. Select Your path and click on next 

5. Keep Default Check Box Checked and Click on Next 

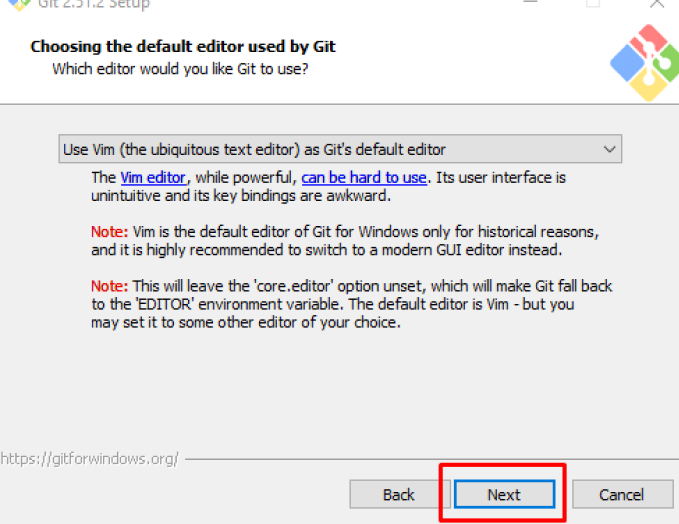
6. Choose Default Editor and Click Next 

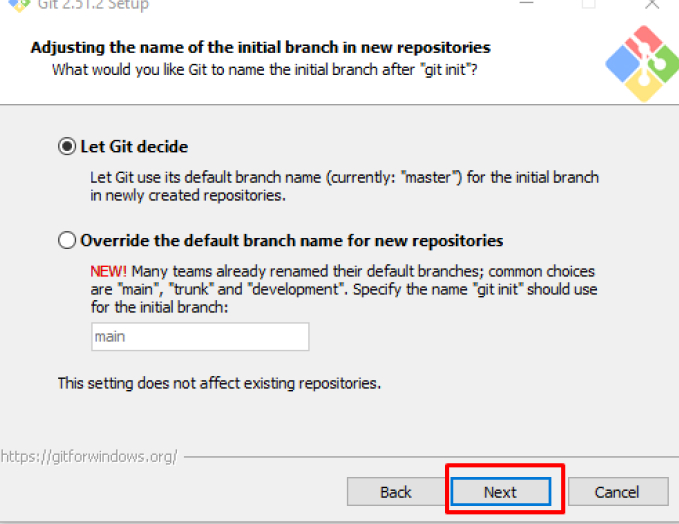
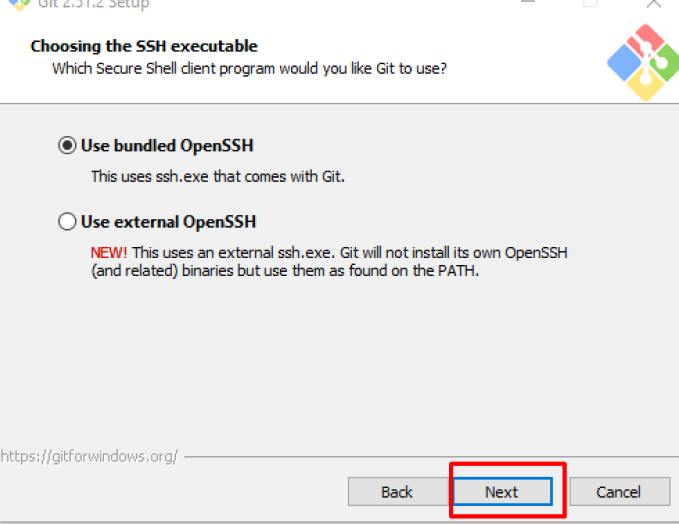
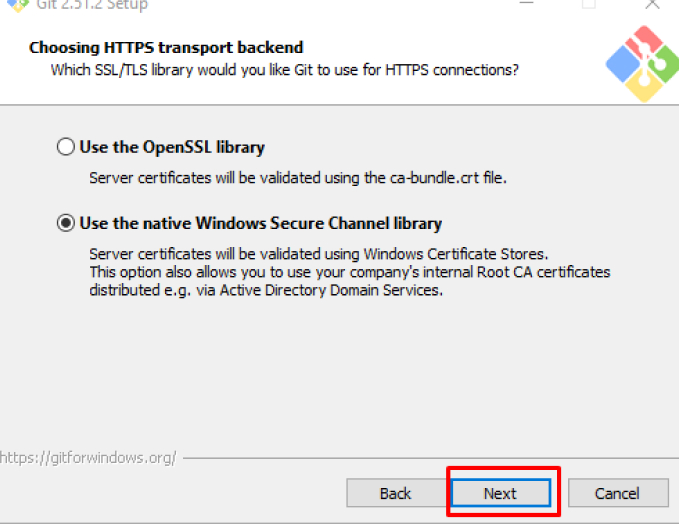
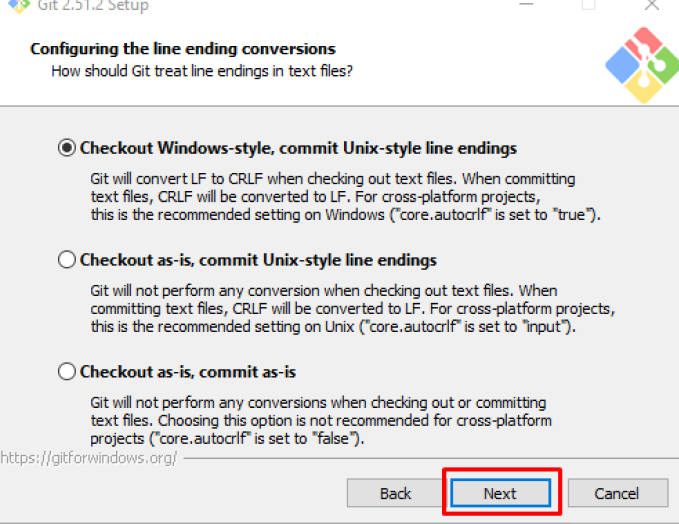
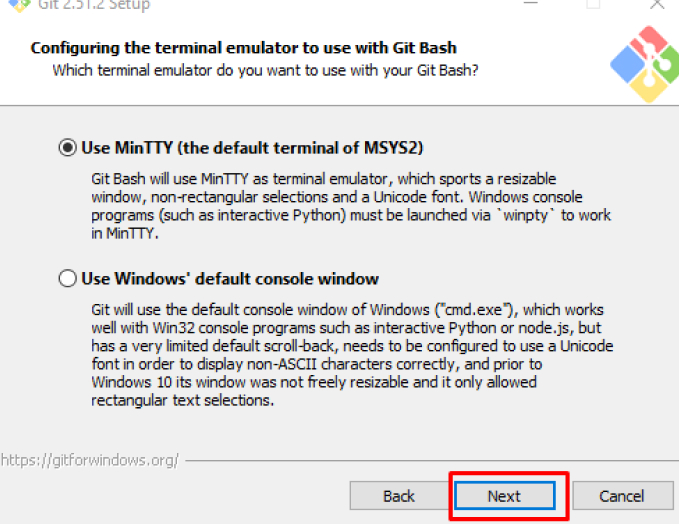
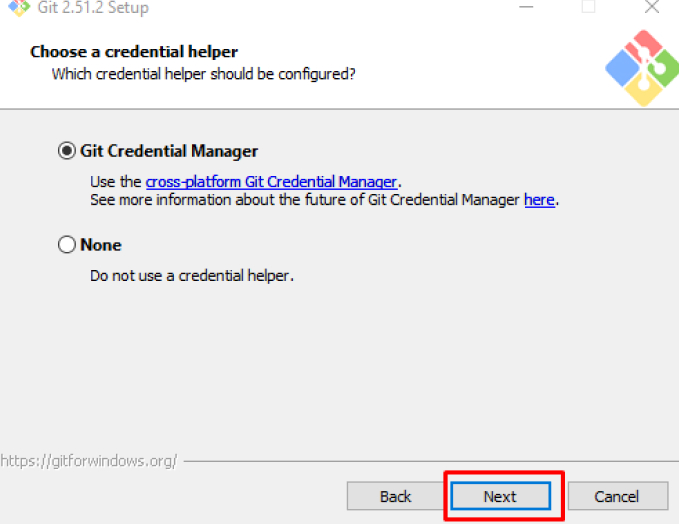
7. Click Next for further steps

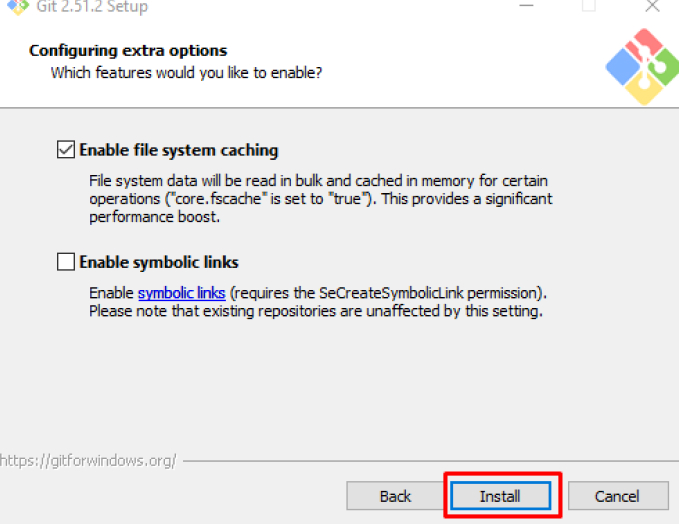
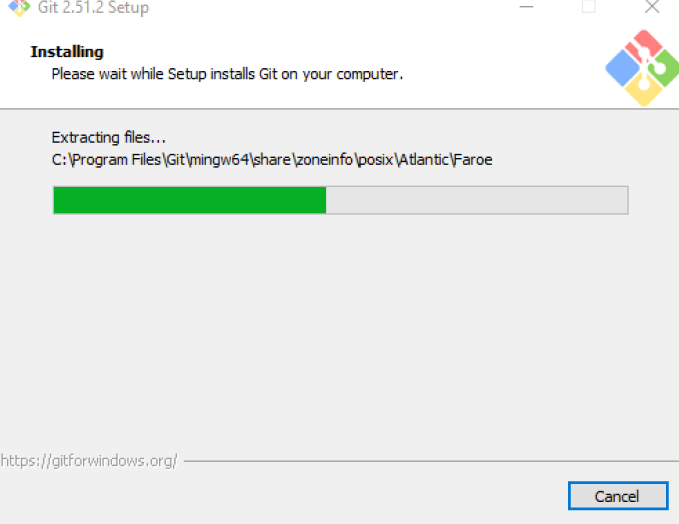
8. Click Install on Last Step and wait for Installation to finish

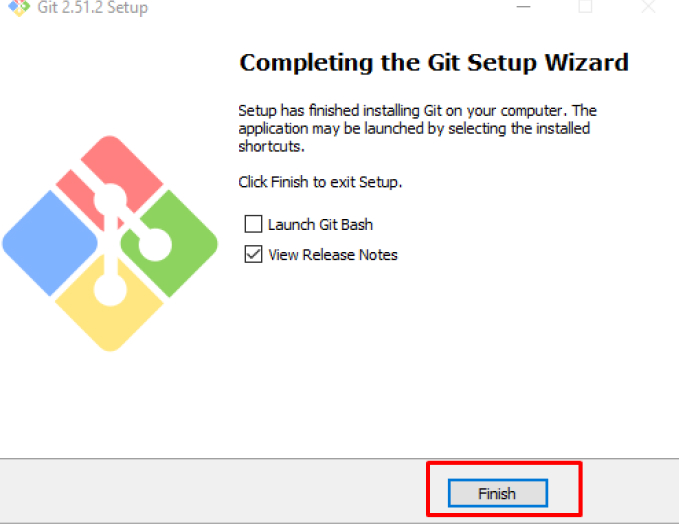
  1. Click on Finish Button

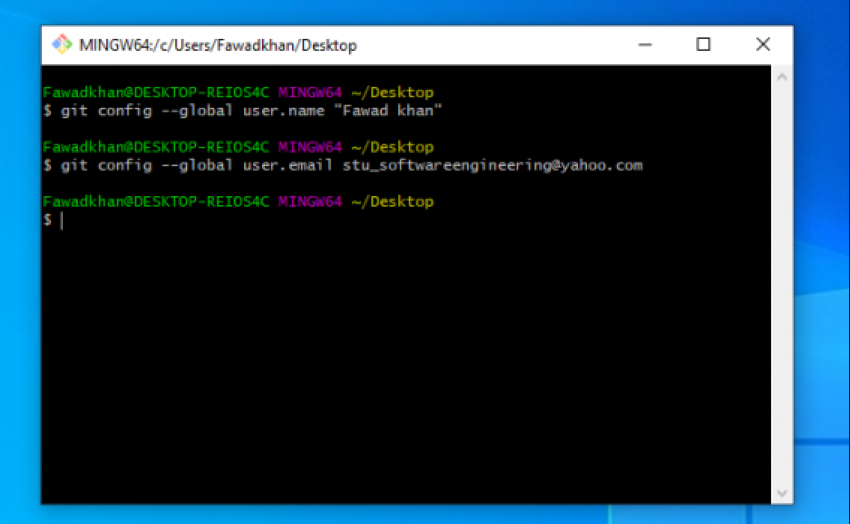
git config –global user.name “Fawad Khan”
git config –global user.email “stu_softwareering@yahoo.com”

Basic Git Commands

  • git clone <repo-url> – Clone a remote repository.
  • git status – Check the repository status.
  • git add . – Stage all modified files.
  • git commitm ‘message’ – Commit changes with a message.
  • git push origin main – Push commits to GitHub.
  • git pull origin main – Pull latest code from GitHub.
  • git checkout -b branch-name – Create and switch to a new branch.
  • git merge branch-name – Merge a branch into the main branch.

Using GitHub with Visual Studio 2022

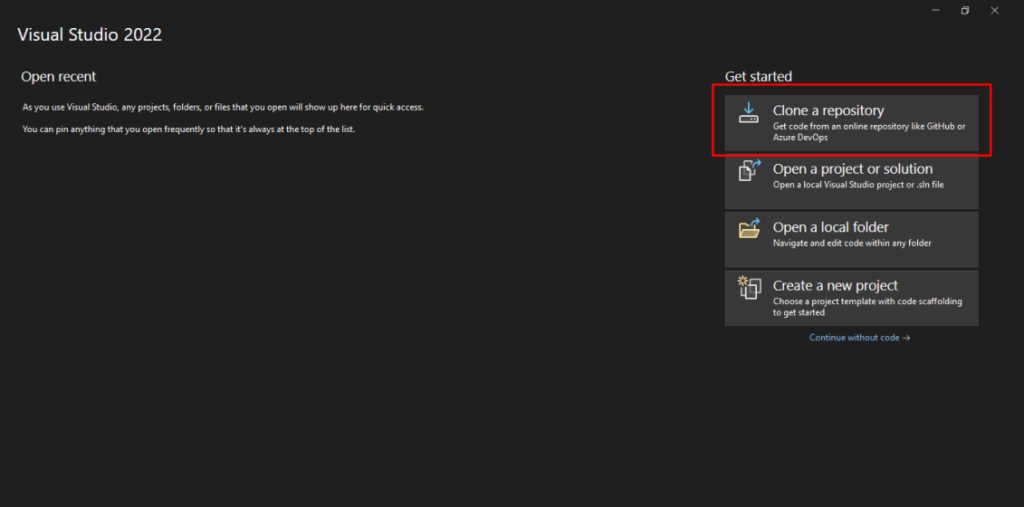
1. Open Visual Studio 2022 and Click on Clone a repository

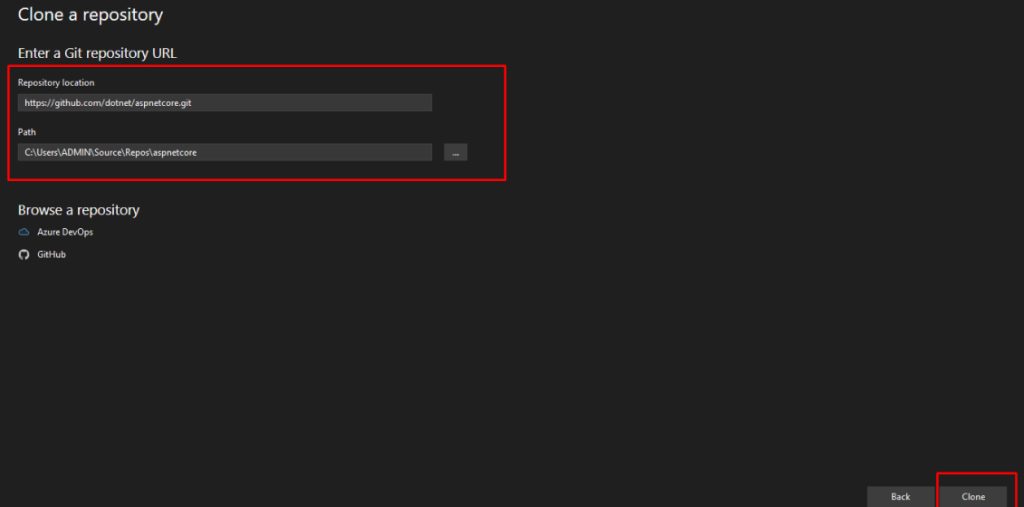
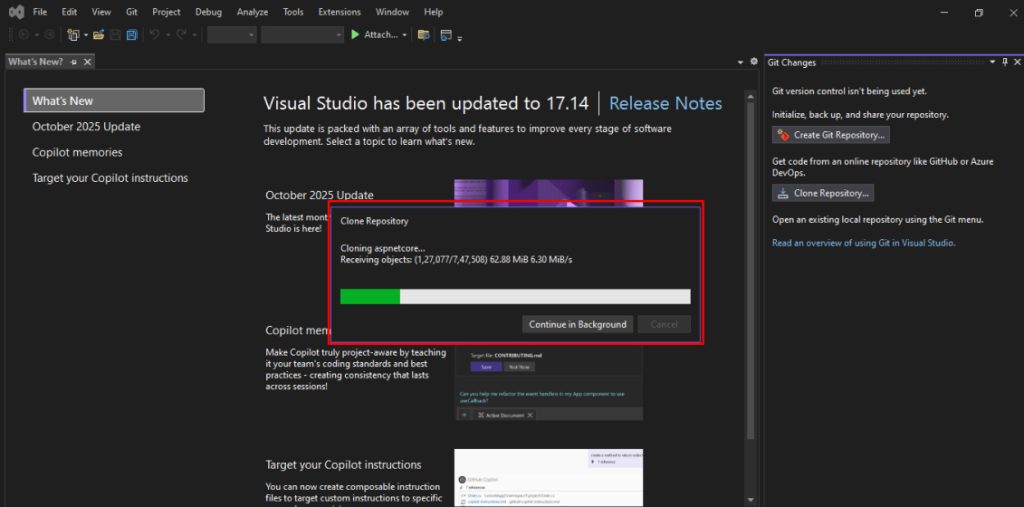
2. Enter repository URL , specify path and click on clone

3. Wait for repository clone to get completed

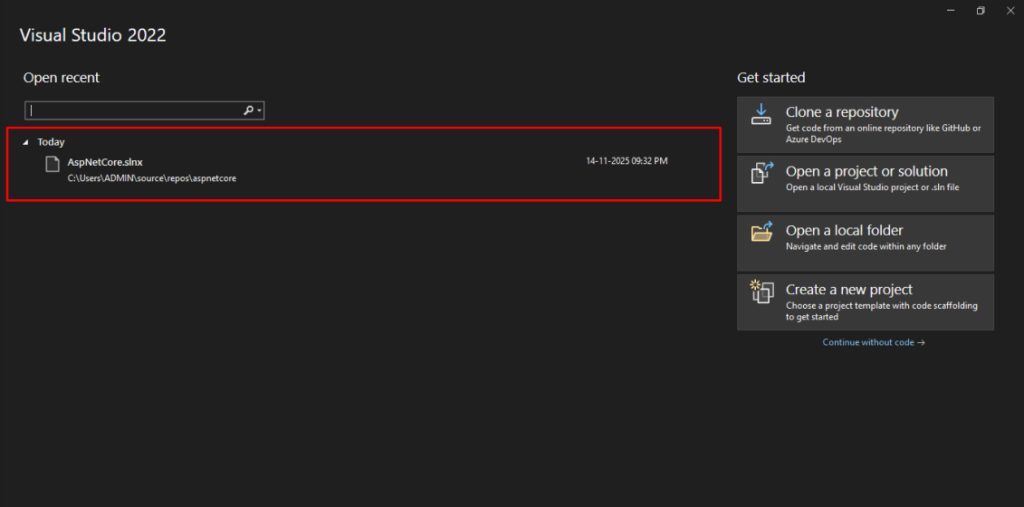
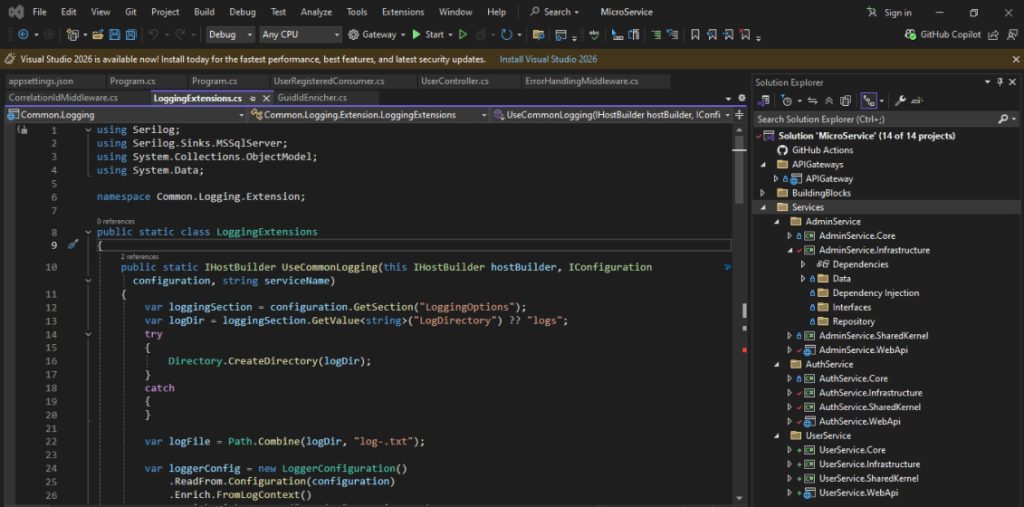
4. Open your solution file (.sln).

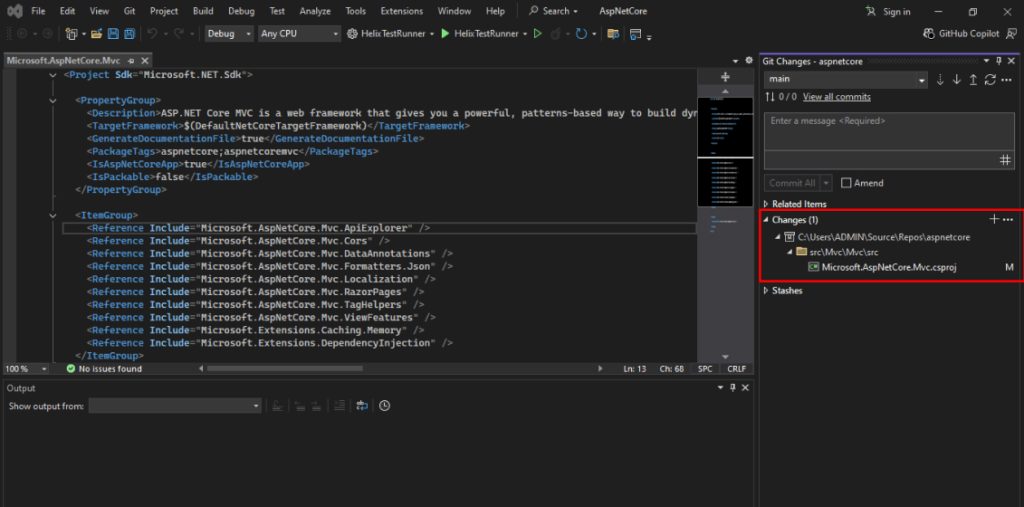
5. Go to ‘View → Git Changes’ to view modified files and stage changes and enter a commit message

6. Click ‘Commit staged and Push’’ to push your code.

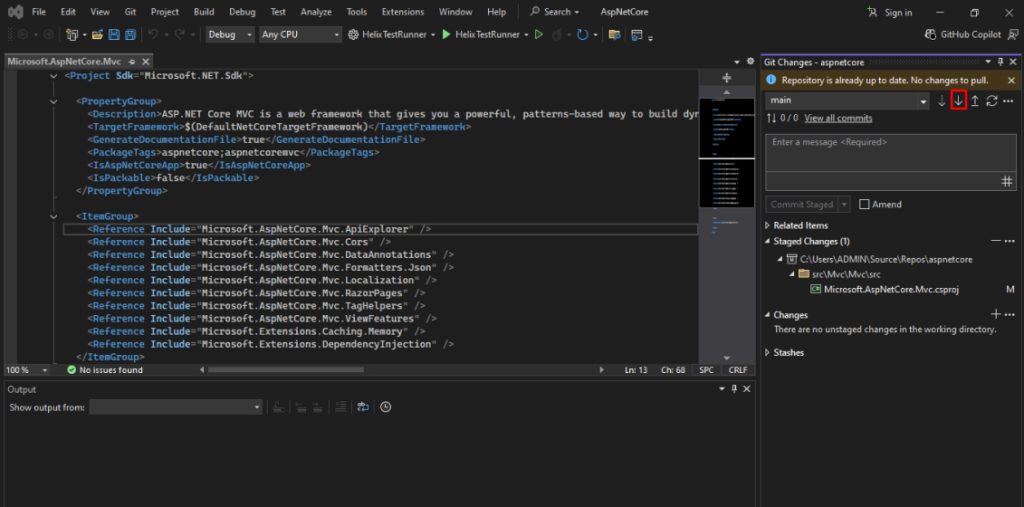
7. Click ‘Pull’ to fetch new updates.

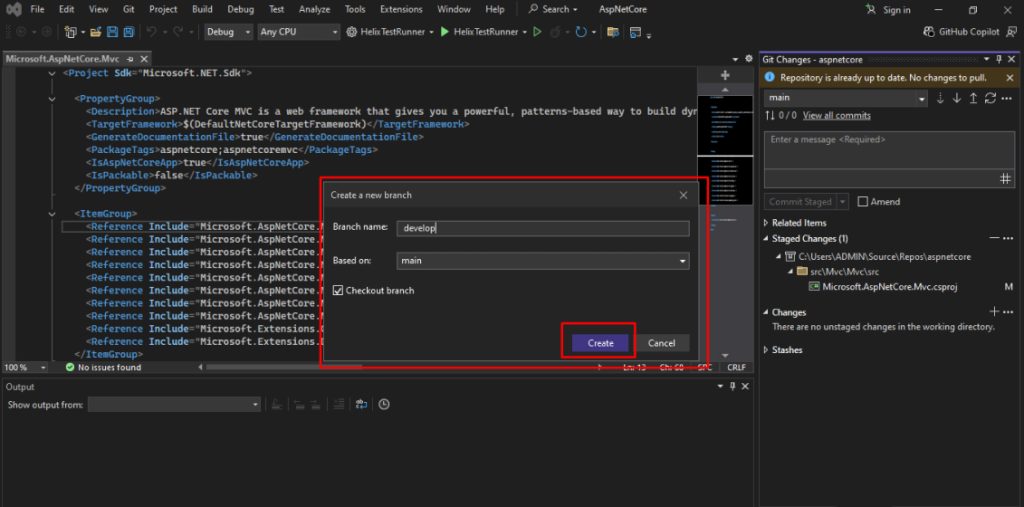
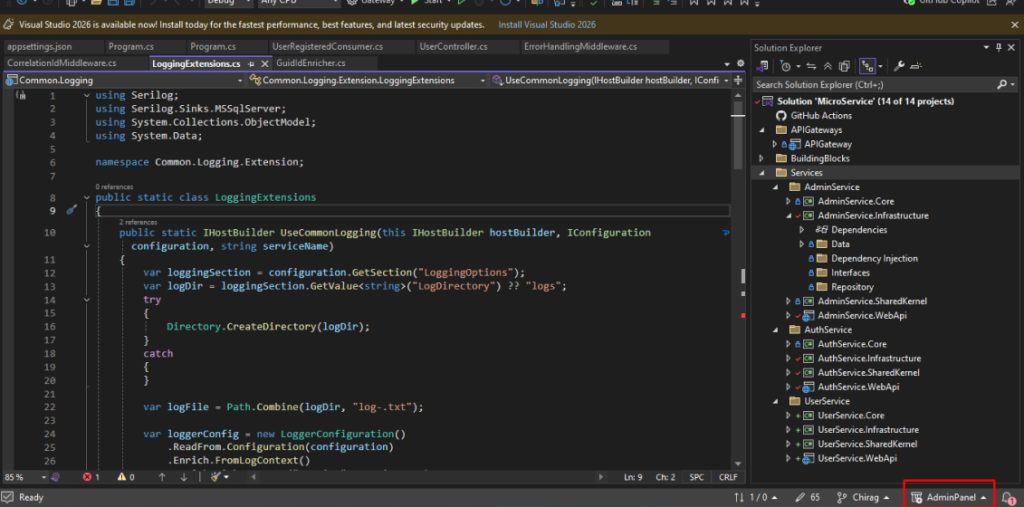
8. Go to ‘Branches’ → ‘New Branch’ to create new branches.

Creating a New Repository from Visual Studio

1. Open your project in Visual Studio.

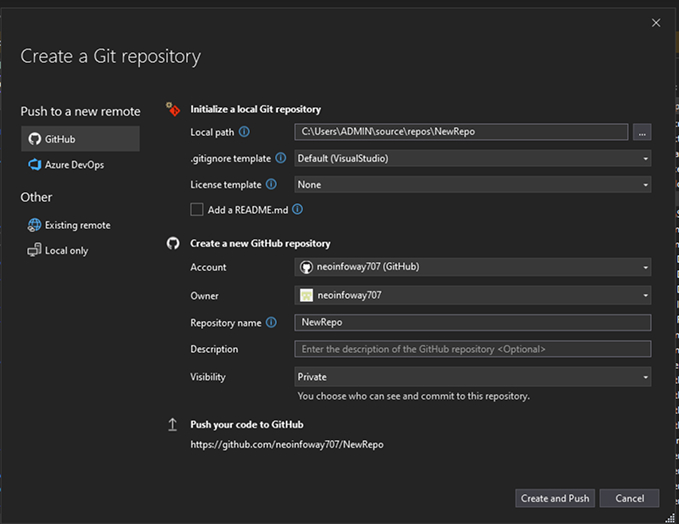
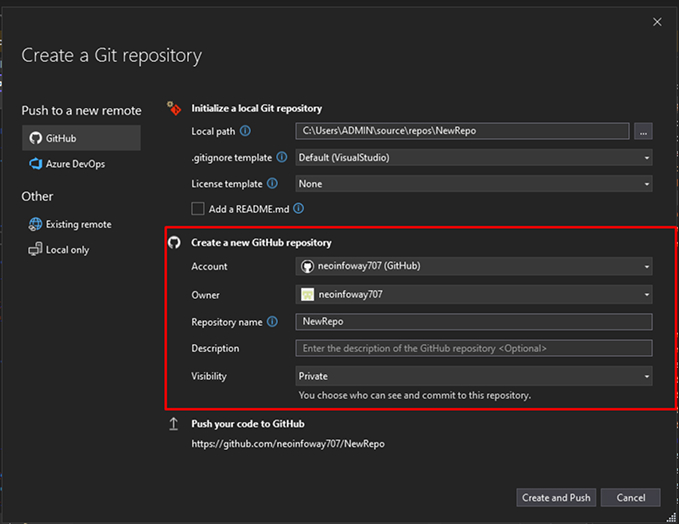
2. Go to Repository and create a new repository

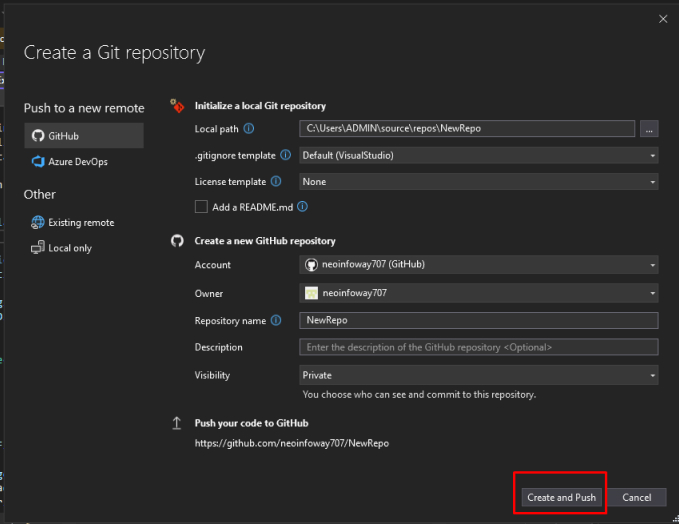
3. Select ‘GitHub’ as the host and sign in if required and Enter repository name, description, and visibility.

4. Click ‘Create and Push’. New repository will be created 

Troubleshooting Tips

  • If authentication fails, re-login under ‘Account Settings’ in VS.
  • Use ‘Merge Tool’ in VS for merge conflicts.
  • If push/pull fails, verify network and branch name.
  • Use ‘git fetch’ to update remote references before merging.

Conclusion

In this guide you learned how to:

– Configure Git and GitHub.

– Run essential Git commands.

– Clone, commit, push, and pull the code in Visual Studio 2022.

– Create new repositories and new branches.

Frequently Asked Questions FAQs

To connect Visual Studio 2022 to GitHub, open Visual Studio → navigate to View > Team Explorer → click on Manage Connections, then click Connect to GitHub → sign in with your GitHub account. After signing in you should be able to clone, push, and pull repositories without leaving Visual Studio.

Visual Studio 2022 has built-in support for Git. However, if you would like to have advanced Git functionality or access to command line features, you can install Git for Windows separately.

Yes, You can still use GitHub Free to host public repositories or private repositories. Visual Studio 2022 supports GitHub’s free tier fully, including version control, branches, and commits.

You can open your existing project in Visual Studio → Git > Create Git Repository → as a host select the GitHub option, give it repository details, and click Create and Push. Your code will then upload to your GitHub account.

First navigate to File > Clone Repository → next paste the GitHub repository URL → select a local folder → finally, click Clone to download the project into Visual Studio.