There will be occasions when you need to enable password protection on your own, or a client’s, Shopify store. This may be because the site is still being built and tested, or you need to make a quick change to the theme. Perhaps you’d like to tweak some product collections, or it might be a permanent fixture of your gated wholesale business.
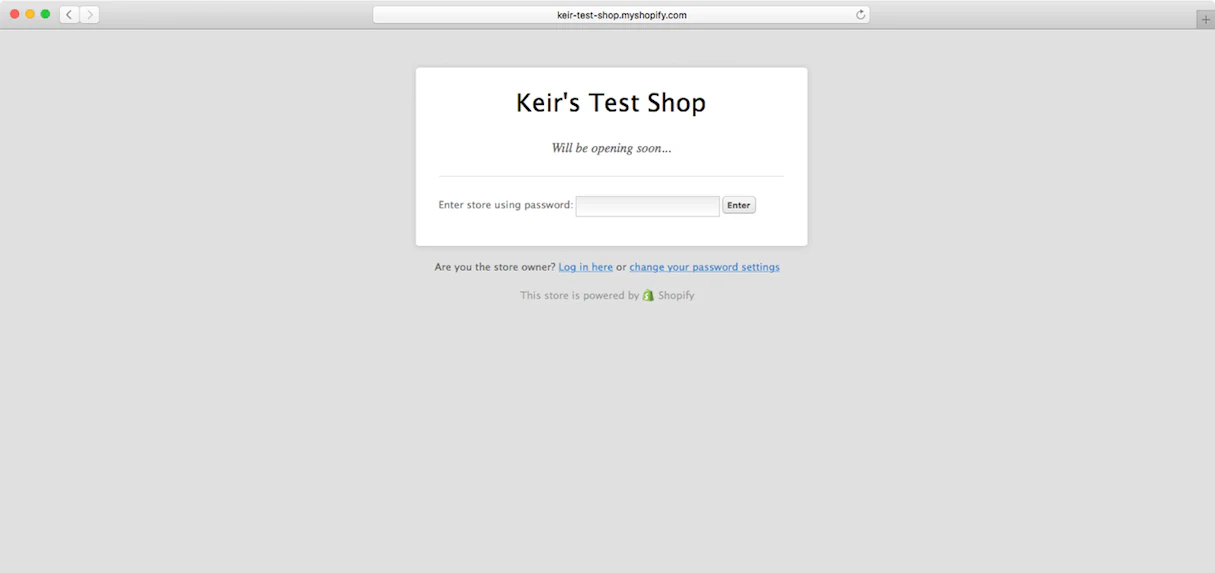
By default, Shopify allows you to add a custom message (which can include HTML) to the default password protected page, and will display this message along with a default login form that will allow access to the store. The default template also provides links for store owners to access the Shopify admin.
This page is functional and works well. However, if you need a longer-term solution, you may wish to invest some time and create your own password page. You can do this by customizing the password.liquid template. I often find that even seasoned theme developers aren’t aware of this template, but thankfully it’s easy to set up.
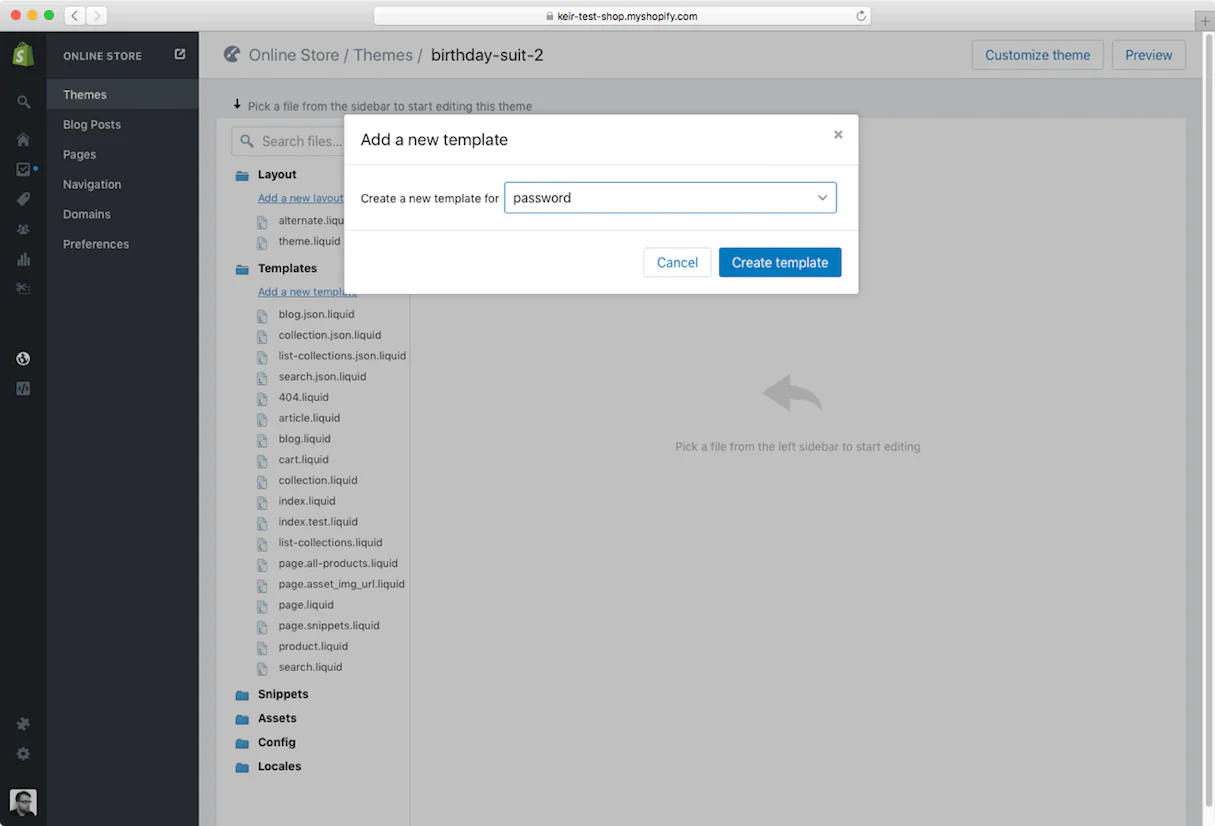
There are two ways to create the template. The first, and simplest, is to use the online theme editor. It’s a short process (see steps and image below):
This will result in a new password.liquid file being added to your templates directory. You’ll notice that the file has a number of key components:
The second way is to add a file named password.liquid to your theme’s templates folder and upload it (along with all your other theme files) either via the Shopify admin or the deployment tool of your choice.
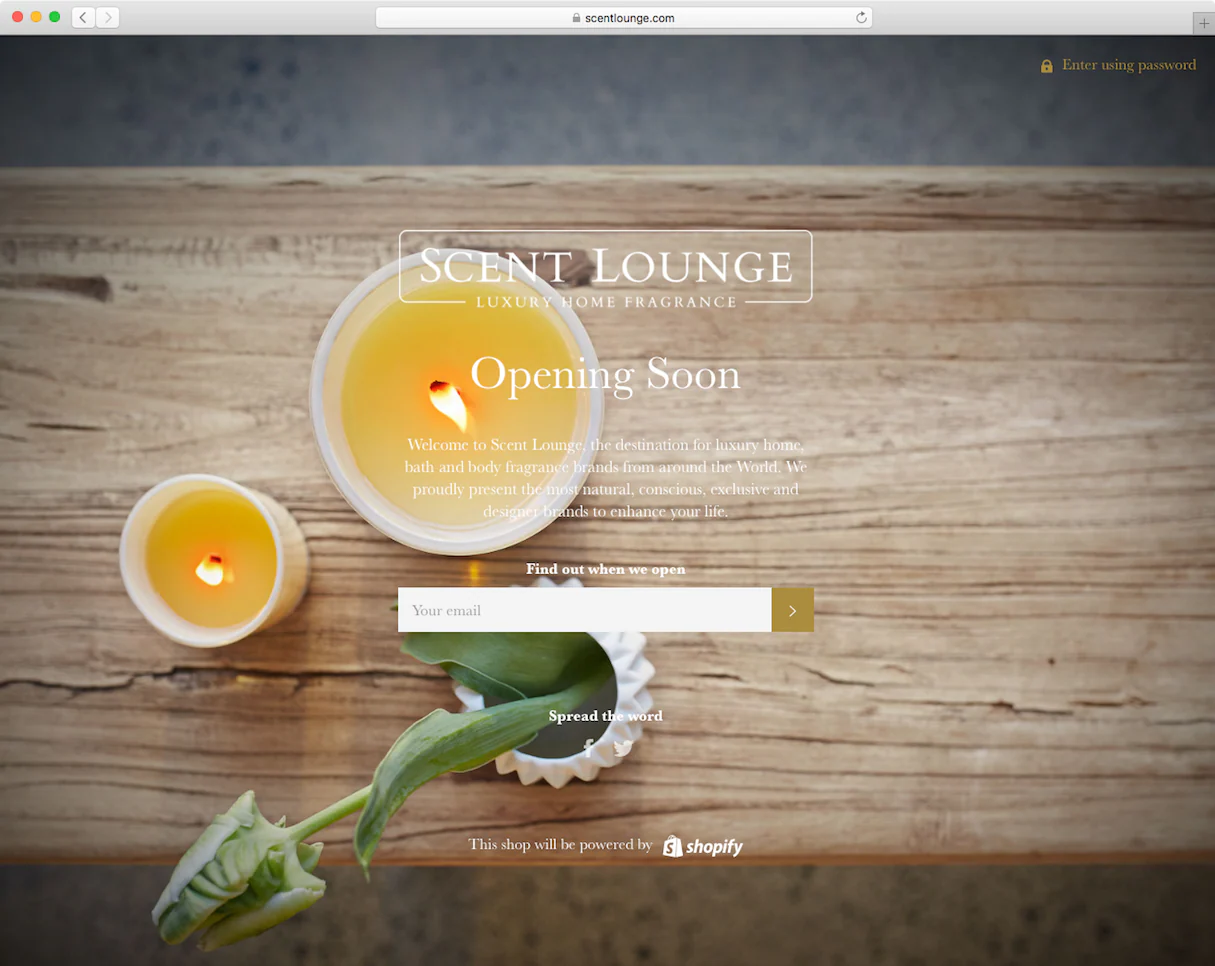
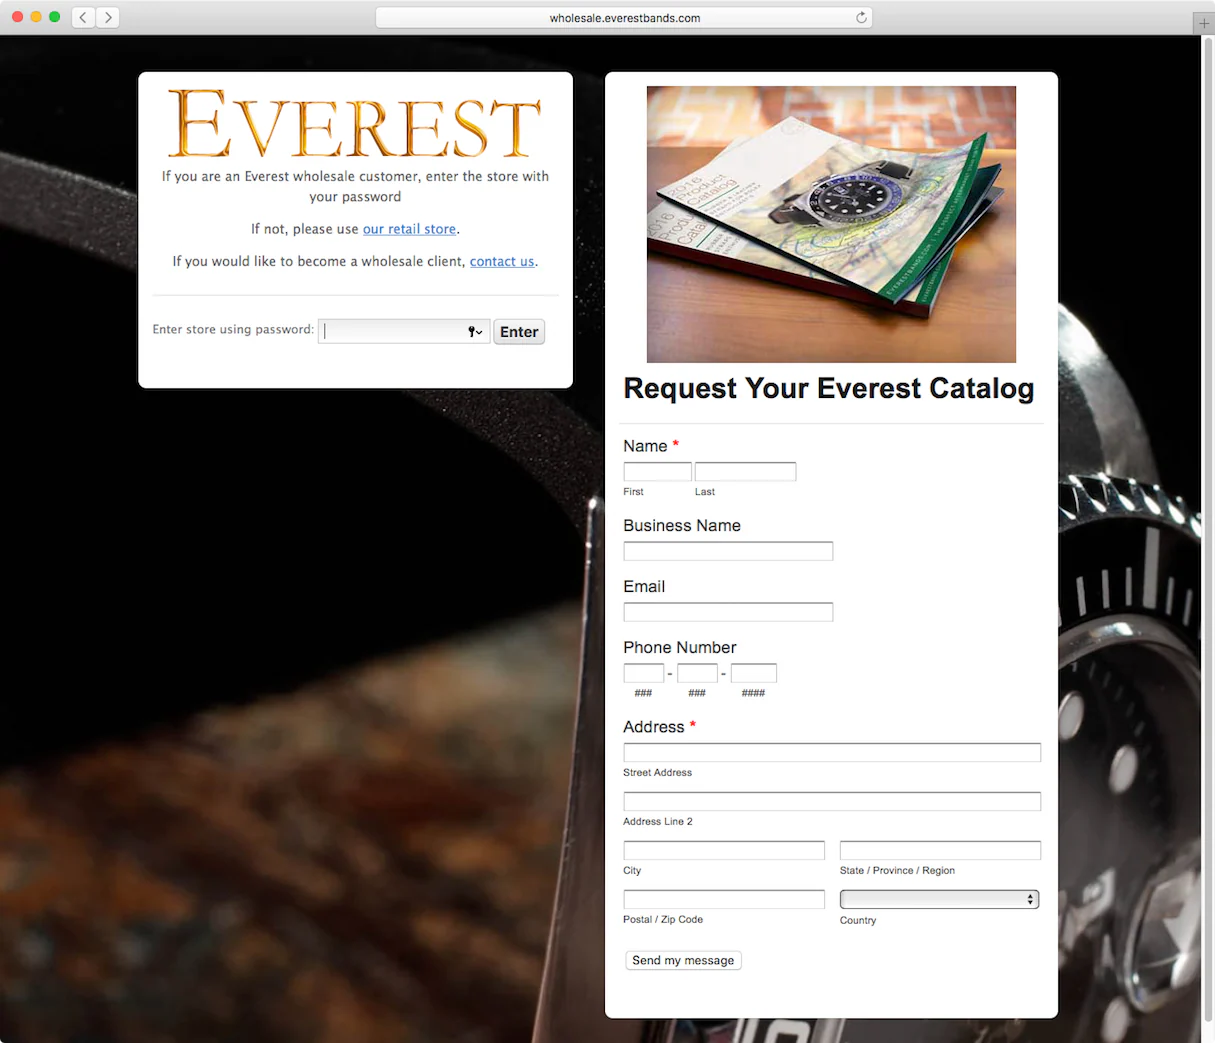
As with all Shopify templates, the password.liquid template is a blank canvas. You can add as much or as little as you need. You could simply bring the page inline with the store’s branding (type, colour, logo etc.) or you could include any of the following components, which regularly feature on “coming soon” and “password protected” pages:
Regardless of which direction you take, below are two code examples that may come in useful when customizing your password templates.
This example checks for the existence of a password message and ensures it’s not a blank string (for good measure). If the conditions aren’t met, the default “This store will be opening soon…” paragraph will be displayed.
{% if shop.password_message and shop.password_message != ‘’ %}
{{ shop.password_message }}
{% else %}
<p>This store will be opening soon...</p>
{% endif %}
If you don’t require the default message, you can also approach it as follows:
{% unless shop.password_message == blank %}
{{ shop.password_message }}
{% endunless %}
Thanks to a Liquid form helper, it’s easy to generate a login box should you require one. This example also includes output of any form-related errors. You can also customize how to display these error messages. More information on how to do this is available in the Shopify Docs.
{% form 'storefront_password' %}
{{ form.errors | default_errors }}
<label for="password">Enter store using password:</label>
<input type="password" name="password" id="password" autofocus="" />
<input class="btn" name="commit" type="submit" value="Enter" />
{% endform %}
You can of course choose to not include any of these elements — it’s entirely up to you and your requirements.
Further information on the password.liquid template is available in the Shopify Docs.
Work with our skilled Shopify developers to accelerate your project and boost its performance.
3rd Floor, Aval Complex, University Road, above Balaji Super Market, Panchayat Nagar Chowk, Indira Circle, Rajkot, Gujarat 360005.
Abbotsford, BC
15th B Street 103, al Otaiba Dubai DU 00000, United Arab Emirates
3rd Floor, Aval Complex, University Road, above Balaji Super Market, Panchayat Nagar Chowk, Indira Circle, Rajkot, Gujarat 360005.
Abbotsford, BC.
15th B Street 103, al Otaiba Dubai DU 00000, United Arab Emirates.
Copyright © 2026 Niotechone Software Solution Pvt. Ltd. All Rights Reserved.