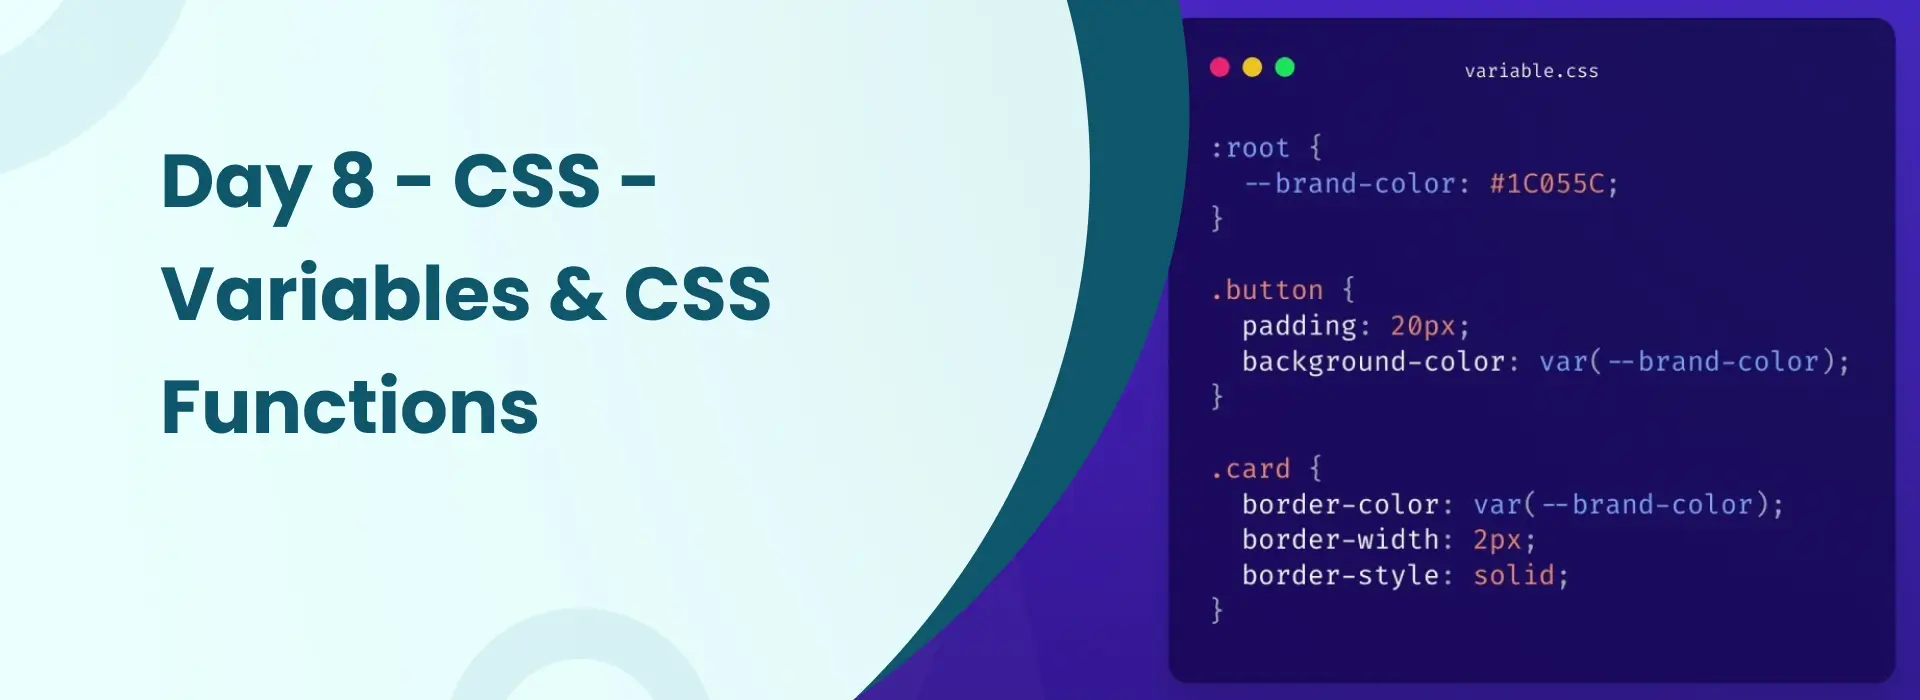
Day 8 - CSS Variables (Custom Properties) and CSS Functions

Introduction

Welcome to a new era of dynamic and maintainable stylesheets! In this tutorial, you will learn two new features that will change the way you write CSS: CSS Variables (Custom Properties) and CSS Functions. We will also learn about CSS Filters, which make it easy to create effects on images and other elements in one line of code.

Now you may be wondering why these concepts will be a big benefit.

  • CSS Variables allow you to store values (for example, colors, sizes, shadows) to use again in your stylesheet. When you update one variable, the entire design refreshes!
  • CSS Functions like calc(), var(), rgb() and hsl() allow you to write dynamic, calculated styles that adjust automatically
  • CSS Filters allow you to easily apply visual effects (blur, brightness, contrast) to any image or graphic element, avoiding the need to change the image in an editor.

Once you are comfortable using these two principles and filters, you will write more readable, maintainable code, and build new, exciting visual effects that will set your websites apart from others. Let’s get started!

Step-by-Step Tutorial

Step 1: Setting Up the HTML Structure

Let’s begin with our HTML foundation:

🌐
<!DOCTYPE html>
<html lang="en">
<head>
  <meta charset="UTF-8">
  <title>CSS Filters & Variables Demo</title>
  <link rel="stylesheet" href="Variables(CustomProperties)_CSSFunctions.css">
</head>
<body>
  <div class="card">
    <h2>Custom Card</h2>
    <p>Using CSS variables, functions, filters & shadows!</p>
  </div>
  
  <div>
    <img src="../images/images.jpg" class="blur" width="90px" height="90px">
    <img src="../images/images.jpg" class="brightness" width="90px" height="90px">
    <img src="../images/images.jpg" class="contrast" width="90px" height="90px">
    <img src="../images/images.jpg" class="img" width="90px" height="90px">
  </div>
  
  <br>
  
  <div class="image">
    <img src="../images/images.jpg" width="100%">
    <div class="container">
      <h1>Hello</h1>
    </div>
  </div>
</body>
</html>

What are we doing here? 

  • We are creating a card to show some variables and shadowing.
  • We are including four images, each with a different filter effect that you applied with classes in CSS. 
  • We are creating an image overlay with some text on top. 
  • Each step is to show different CSS techniques we will look at together.
     

Pro Tip: Notice that we used the same image multiple times with different classes? This is a great way to demonstrate how CSS can change the same element in different ways!

Step 2: Declaring CSS Variables in: root

Here’s where the magic begins! Let’s declare our CSS variables:

🎨
:root {
  --primary-color: #6a11cb;
  --secondary-color: #2575fc;
  --text-color: #333;
  --bg-gradient: linear-gradient(135deg, #a8edea, #fed6e3);
  --card-shadow: 0 6px 15px rgba(0, 0, 0, 0.15);
  --radius: 15px;
  --transition: all 0.3s ease;
}

Understanding CSS Variables:

  • :root is a pseudo-selector for the root (or main) element of the document – think of something like html, but more specific.
  •  Variables always need to begin with two dashes (–) – this is the syntax!
  • primary-color: #6a11cb has a purple color value assigned. 
  • bg-gradient holds an entire gradient function – think about it, variables are a place to hold virtually any value CSS accepts! 
  • transition holds transition properties we may use again. 

Why do we use :root? 

Because once declared there, we will have global access to that variable – any element in your document can access that variable! 

Beginner Note: Think of CSS variables like a “settings panel” at the top of your stylesheet. Do you want to change all of the colors? You will simply update those variables!

Step 3: Global Reset and Box-Sizing

Let’s add a universal reset:

🎨
* {
  margin: 0;
  padding: 0;
  box-sizing: border-box;
}

What this does:

  • * Selects every element on the page (universal selector) 
  • margin: 0; padding: 0; resets default browser spacing
  • box-sizing: border-box adjusts width calculations to include padding and border (very important for layouts!) 

Note: box-sizing: border-box is a best practice to help prevent unexpected sizing surprises. Always include!

Step 4: Using CSS Variables with var() Function

Now let’s apply our variables using the var() function:

🎨
body {
  background: var(--bg-gradient);
  font-family: "Poppins", sans-serif;
  color: var(--text-color);
  display: flex;
  flex-direction: column;
  align-items: center;
  justify-content: flex-start;
  padding: 40px 20px;
}

The var() function explained: 

  • var(–bg-gradient) gets the value defined using –bg-gradient 
  • var(–text-color) gets the text color out of our variables 
  • If you want a fallback: var(–text-color, #000) – defaults to black if the defined variable is not set

Why this is powerful: 

Want to change the background gradient on your whole site? Just change –bg-gradient in :root and you’re done. No find-and-replace! 

Pro Tip: CSS variables are live! If you update them via JavaScript your entire page will update in an instant. Perfect for theme switchers!

Step 5: Creating the Interactive Card

Let’s build a card that uses multiple variables:

🎨
.card {
  background: #fff;
  border-radius: var(--radius);
  padding: 40px 50px;
  text-align: center;
  box-shadow: var(--card-shadow);
  margin-bottom: 40px;
  transition: var(--transition);
  max-width: 350px;
}

.card:hover {
  transform: translateY(-10px) scale(1.05);
  box-shadow: 0 8px 25px rgba(0, 0, 0, 0.25);
}

.card h2 {
  color: var(--primary-color);
  margin-bottom: 10px;
}

.card p {
  font-size: 1rem;
  color: #555;
}

To summarize:

  • border-radius: var(–radius) is pulling from our stored radius value (15px);
  • box-shadow: var(–card-shadow) is adding our consistent shadow;
  • transition: var(–transition) is pulling from our global transition settings;
  • The hover effect translates the card up 10px and scales it to 105% size;
  • The transition will allow this effect to happen all smoothly over 0.3 seconds. 

Why does this matter:

If you ever want all of the cards to look the same, you only have to change the variables once! This is DRY (Don’t Repeat Yourself) programming at its best.

Step 6: Applying CSS Filters - Blur Effect

Now for the fun part – CSS filters! Let’s start with blur:

🎨
.blur {
  filter: blur(3px);
  transition: var(--transition);
}

.blur:hover {
  filter: blur(0);
}

How filters function:

  • filter: blur(3px) applies a 3px blur effect to the entire element
  • blur(0) on hover removes blur (image sharpens)
  • The transition enables a smoother “focus” animation

Creative application: Blur effects are fun for giving a sense of depth, drawing attention, or creating “reveal” interactions!

Step 7: Brightness Filter

Let’s make images darker and lighter:

🎨
.brightness {
  filter: brightness(0.5);
  transition: var(--transition);
}

.brightness:hover {
  filter: brightness(1.2);
}

Brightness overview:

  • brightness(0.5) darkens image to 50% (half bright)
  • brightness(1) is regular brightness (100%)
  • brightness(1.2) brightens the image to 120%
  • Any value less than one decreases brightness, greater than one increases brightness

Pro Tip: Use multiple filters! filter: brightness(0.8) contrast(1.2); applies both filters!

Step 8: Contrast Filter

Now let’s adjust image contrast:

🎨
.contrast {
  filter: contrast(200%);
  transition: var(--transition);
}

.contrast:hover {
  filter: contrast(100%);
}

In-depth contrast:

  • contrast(200%) doubles the contrast (darks become darker, lights become lighter)
  • contrast(100%) is normal or regular contrast
  • contrast(50%) decreases contrast (or washed out look; reduces color depth) 

Note: high contrast can help images appear dramatic, attention grabbing and great for artistic look/feel!

Step 9: Grayscale Filter with Transform

Let’s create a grayscale-to-color effect:

🎨
.img {
  filter: grayscale(100%);
  border-radius: 10px;
  transition: var(--transition);
}

.img:hover {
  filter: grayscale(0);
  transform: scale(1.1);
}

This is what is going on: 

  • grayscale(100%) fully transforms the image to a black and white.
  • On hover, grayscale(0) fully reveals the color.
  • transform: scale(1.1) expands the image by 10% in size.

Creative application:

This for portfolio galleries – show images in grayscale and reveal color on hover for an eye-catching effect!

Step 10: Creating an Image Overlay Container

Let’s build a sophisticated image overlay:

🎨
.image {
  position: relative;
  width: 80%;
  max-width: 700px;
  border-radius: var(--radius);
  overflow: hidden;
  box-shadow: var(--card-shadow);
  margin-top: 30px;
}

.image img {
  display: block;
  width: 100%;
  height: auto;
  filter: brightness(70%);
  transition: var(--transition);
}

.image:hover img {
  filter: brightness(100%);
  transform: scale(1.03);
}

Understanding how this works: 

  • position: relative on .image allows it to be a positioning context for the child elements.
  • overflow: hidden on .image clips anything that falls outside the rounded border.
  • filter: brightness(70%) makes the image 70% darker.
  • On hover, the brightness is set to 100% and a slight zoom is applied. 

As a design principle, darkening a background image will help readability of overlaid text!

Step 11: Positioning Text Over Images

Now let’s add text on top of the image:

🎨
.container {
  position: absolute;
  top: 50%;
  left: 50%;
  transform: translate(-50%, -50%);
  color: white;
  text-align: center;
  text-shadow: 2px 2px 10px rgba(0, 0, 0, 0.6);
}

.container h1 {
  font-size: 3rem;
  font-weight: bold;
  letter-spacing: 2px;
  animation: fadeIn 1.5s ease-in-out;
}

The trick of positioning: 

  • position: absolute takes the element out of the normal flow of the page
  • top: 50%; left: 50%; positions the top left corner of the element in the center of the page
  • transform: translate(-50%, -50%); will center the element absolutely by adjusting it just past the center by half the width of the element, and the same for height.

The text effects:

  • text-shadow: 2px 2px 10px rgba(0,0,0,0.6) applies a darker shadow to the text to aid readability. 
  • The shadow is offset 2 pixels to the right and 2 pixels down and blurred by 10 pixels.
  • letter-spacing: 2px adds a modern look by enlarging whatever spacing is applied to the letters.  

Pro tip: The translate(-50%, -50%) centering technique works no matter the size of the centered element!

Step 12: Adding Entrance Animation

Let’s animate the text when it appears:

🎨
@keyframes fadeIn {
  from {
    opacity: 0;
    transform: translate(-50%, -60%);
  }
  to {
    opacity: 1;
    transform: translate(-50%, -50%);
  }
}

Animation breakdown:

  • The animation will start off invisible (opacity: 0), and two lines above the position it will eventually land in (-60%).
  • The animation will end fully visible (opacity: 1) in the position it will eventually land in (-50%).
  • The animation causes the text to “fade up and in” on a smooth motion.
  • The duration of the animation timing is 1.5s with an ease-in-out timing.

Note: We use the translate(-50%, …) centering in both keyframes to keep the text center aligned horizontally!

Step 13: Making It Responsive

Finally, let’s add mobile-friendly styles:

🎨
@media (max-width: 600px) {
  .card {
    width: 90%;
    padding: 25px;
  }
  .image {
    width: 95%;
  }
  .container h1 {
    font-size: 2rem;
  }
}

Responsive design:

  • The @media (max-width: 600px) rules will vary the styling of the page element when the screen size is 600px or less 
  • Cards display at 90% width on mobile 
  • The font size decreases from 3rem to 2rem when the browser screen is smaller than 600px.
  • Images display at 95% width on mobile to be viewed better.

Pro Tip: Make sure to always check your design on a mobile device! Over 50% of web traffic is mobile.

Code Explanation Sections

The Power of CSS Variables

This project showcases why CSS variables are important: we defined variables once in :root and referenced them several times:

  • –radius for both the .card and .image border-radius
  • –transition for the consistent timing of any Animation
  • –card-shadow to apply the same shadow to multiple sources

What’s the advantage? Do you want softer shadows everywhere on the site? Change one line. You want a different border-radius? Change one variable! This is the definition of maintainability!

CSS Functions in Action

This project employs several CSS functions:

  1. var() – Uses the variable’s value
  2. rgba() – Generates colors with transparency (with shadows and gradients)
  3. linear-gradient() – Generates the lovely background gradient
  4. translate() and translateY() – Positions and moves elements
  5. scale() – Adjust elements size smoothly

Filter Effects Pipeline

CSS filters can be combined together:

css

filter: brightness(0.8) contrast(1.2) blur(2px);

They work in order, and create complex visual effects from simple code! 

Variable Scope     

CSS variables respect cascade and inheritance:    

  • Variables defined in :root will be global (accessible everywhere)    
  • Variables can be redefined in the child elements, so you can have local scope  
  • You can even change variables with JavaScript for responsive themes!

Tables of Key Concepts

A. Components / Keywords Used

Name

Description

:root

Pseudo-class representing the document root, used to define global CSS variables

–variable-name

Syntax for declaring custom CSS properties (variables)

var()

Function to retrieve and use CSS variable values

filter

Property that applies visual effects to elements

blur()

Filter function that applies blur effect (in pixels)

brightness()

Filter function that adjusts brightness (0-1+ or 0%-200%+)

contrast()

Filter function that adjusts contrast (0-200%+)

grayscale()

Filter function that converts image to grayscale (0-100%)

rgba()

Function to create colors with alpha (transparency) channel

linear-gradient()

Function that creates smooth color transitions

translate()

Transform function that moves elements in 2D space

translateY()

Transform function that moves elements vertically

scale()

Transform function that resizes elements

@keyframes

Defines custom animation sequences

@media

Creates responsive styles based on screen size

box-shadow

Creates shadow effects around elements

text-shadow

Creates shadow effects behind text

B. Key Properties / Parameters / Features

Name

Description

position: relative

Creates positioning context for absolutely positioned children

position: absolute

Removes element from normal flow for precise positioning

overflow: hidden

Clips content that extends beyond element boundaries

transform

Applies 2D or 3D transformations to elements

transition

Creates smooth animations between property changes

opacity

Controls transparency (0 = invisible, 1 = fully visible)

letter-spacing

Controls spacing between characters

border-radius

Rounds corners of elements

box-sizing: border-box

Includes padding and border in element width calculation

max-width

Sets maximum width constraint for responsive design

top: 50%; left: 50%

Combined with translate(-50%, -50%) for perfect centering

flex-direction: column

Stacks flex items vertically

align-items: center

Centers items along cross axis

justify-content

Aligns items along main axis

ease-in-out

Timing function that starts slow, speeds up, then slows down

Common Mistakes to Be Aware Of:

  • Not using the — prefix on variable names
  • Not using var() to get variable values
  • Using percentages vs. decimals incorrectly (brightness takes either, but 1 = 100%)
  • Not using position: relative on parent when position: absolute on children
  • Not testing filter effects across all browsers

Remember to consider what CSS variables and filters can do! These are amazing time-saving tools that can help clean up your code! The only way to get great at these techniques is to practice!

Useful References

Do you want to learn more about CSS variables, functions, and filters? Refer to these great resources:

Official Documentation:

Interactive Learning:

Tools and Generators:

Video Tutorials:

Practice and Inspiration:

Browser Compatibility:


Source code:

https://github.com/niotechoneSoftware/dotnet-developer-roadmap/tree/main/CSS-Fundamentals/Day%208%20-%20CSS%20-%20Variables%20%26%20CSS%20Functions


Summary – What You Learned

Today you learned that CSS Variables (Custom Properties) are incredibly helpful for creating reusable dynamic values for things like colors, spacing, fonts, and layouts that make your CSS easier to maintain.

You also learned about CSS Functions, such as calc(), var(), min(), max(), clamp(), rgba(), url(), and others that allow you to be responsive and flexible with cleaner code.

By the end of the session, you will also be able to write more scalable and customizable CSS using powerful variable-based styling.

Output

CSS Variables and Functions example showing custom properties, calc(), and clamp() in a webpage layout.

Frequently Asked Questions FAQs

CSS Variables can be utilized to store reusable values (such as colors, fonts, and spacing) that can change globally from one location.

You would declare a CSS Variable within a selector, using --name: value; and you would call the variable with the var(--name) function.

CSS Variables function in real time in the browser, are dynamic, can change with JavaScript, and provide a means to switch themes.

The most commonly used functions are calc(), var(), clamp(), min(), max(), rgba(), and url().

Yes. You can use a variable with the functions calc() or clamp() to provide reusable, scaleable, and responsive spacing, fonts, or layouts.