Day 3 - HTML Tables Lists Divs Layout Enhanced: "Mastering HTML Layouts and Content Structuring"

Learning Objectives (Before the Tutorial)

After finishing this tutorial, you will be capable of:

  • Creating and styling HTML tables with borders, headers, and cell spacing.
  • comprehending and using ordered, unordered, and description lists.
  • Identifying block versus inline elements.
  • Grouping and styling sections using <div>, classes, and IDs.
  • Embedding other pages or media using iframes.
  • Correctly using file paths and applying basic layout and responsive ideas.

Concept Box – Why This Matters

Tables, lists, and layout elements are the foundations of organized web content. When you comprehend how to use them, you can structure pages that present content clearly, are accessible, and also present a visually appealing page. Before CSS frameworks like Bootstrap arrived, developers utilized tables and divs as the primary means of controlling a website layout. These skills are still necessary to every web developer. 

1. Tables — Organizing Data in Rows and Columns

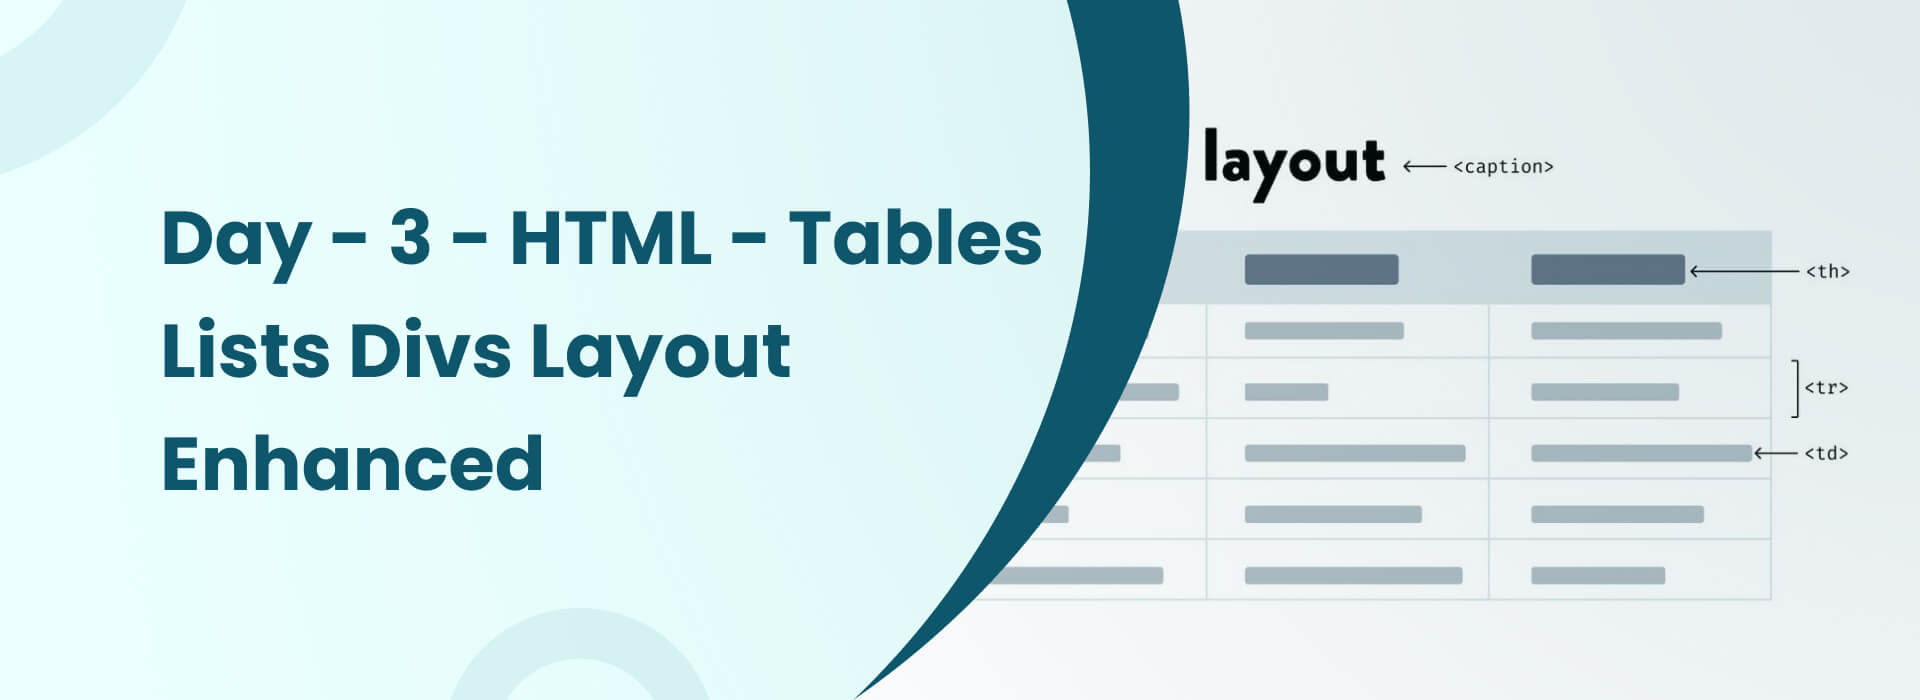
Tables are useful for presenting structured data, such as price lists, schedules, or reports. Tables are structured using  <table>, <tr> (row), <th> (header), and <td> (data cell) tags.

  • Example: Basic Table Structure
🌐
<table border='1'>
  <tr>
    <th>Name</th>
    <th>Age</th>
  </tr>
  <tr>
    <td>Alice</td>
    <td>22</td>
  </tr>
</table>

Tip: Although you can add visible borders for practice using the ‘border’ attribute, when a web designer styles a table, they will do it using CSS.

Quick Recap — Tables

Use <table>, <tr>, <th>, and <td> for structure.
You can use colspan and rowspan to merge cells.
Use CSS for better control over the design of a table.

2. Lists — Displaying Information Neatly

Lists are a way to show multiple items in an organized way. HTML supports three types of lists: 

  • Unordered List (<ul>) – displays a list of items with bullet points. 
  • Ordered List (<ol>) – displays a list of numbered items. 
  • Description List (<dl>) – defines a term and its meaning.


Example: Unordered List

🌐
<ul>
  <li>HTML</li>
  <li>CSS</li>
  <li>JavaScript</li>
</ul>

Tip: Lists can help create neat navigation menus, or show steps in a process.

Quick Recap — Lists

Use <ul> or <ol> depending on order.
Use <dl> for definitions.

Links are used to connect different web pages. You can create links by simply using the <a> tag. 

In HTML, elements behave differently whether they are block or inline.

  • Block Elements – take up the entire width of the page and start on a new line (<div>, <p>, <h1>).
  • Inline Elements – take up only the width (<span>, <a>, <img>).

Tip: Use block elements to create structure, use inline elements for styling within text.

Quick Recap—Block vs Inline 

  • Block = takes up the full width of the page, starts on a new line. 
  • Inline= fits within the flow of the text.

4. Divs, Classes, and IDs

A <div>  tag is used to group relevant HTML elements together. The ‘class’ and ‘id’ attributes allow you to apply CSS styling or act on elements with JavaScript.

🌐
<div class='info-box'>
  <h2>About Us</h2>
  <p>We create amazing websites for students.</p>
</div>

Tip: Use id for single use elements and class for reuse.

5. IFrames — Embedding Web Pages

An <iframe> allows you to embed another web page or video into your current page.

  • Example:
🌐
<iframe src='https://www.wikipedia.org' width='400' height='250'></iframe>

Tip: Iframes are also great for including maps, videos, or forms without leaving the page.

6. File Paths — Telling the Browser Where to Find Files

File paths define the location of files you have linked (e.g., images or CSS). There are two types:

  • Relative Path – file is stored inside your project folder (e.g., images/photo.jpg).
  • Absolute Path – full URL used (e.g., https://example.com/photo.jpg).

7. Layout & Responsive Basics

Divs and CSS are useful tools for building layouts that are flexible and responsive. This is often done nowadays using either Flexbox or Grid.

Example using Flexbox:

🌐
<div style='display:flex;'>
  <div style='flex:1; background-color:lightblue;'>Left</div>
  <div style='flex:1; background-color:lightgreen;'>Right</div>
</div>

Tip: Whenever you are designing, think of your design as responsive! That way, your site can look as great on mobile as it does on a desktop. 

Common Mistakes

  • Forgetting to close a table (or div).
  • Incorrectly mixing block and inline elements.
  • Using absolute paths for local files.
  • Not checking responsiveness on small screens.

Mini Practice Challenges

  • Create a table of student scores with borders and headers.
  • Create an ordered list of your tasks each day.
  • Create two sections side-by-side with Flexbox.
  • embedded a YouTube video with an iframe.

What You Learned

You learned how to:

  • Use tables and lists to organize information
  • Use divs and ids to indicate layout structure 
  • Use file paths and responsiveness how they relate to design.
     

These are fundamental building blocks for any web page.

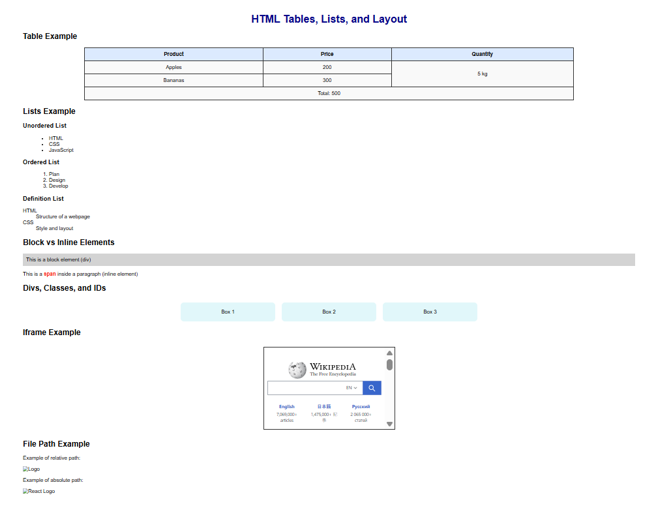
Output

Frequently Asked Questions FAQs

It is best to use CSS Flexbox or Grid for laying out your page. 

You can have multiple classes; ids are unique. 

Tables are for tabular data; divs are for layout and they are more flexible and responsive. 

HTML provides three types of lists

  • Unordered List (<ul>) for bullet points

  • Ordered List (<ol>) for numbered items

  • Description List (<dl>) for terms and their definitions

Block elements (like <div>, <p>, <h1>) take up the full width of the page and start on a new line.

Inline elements (like <span>, <a>, <img>) only take up as much width as necessary and stay within the same line.